
A practical guide from Packaging in Time to help you choose better materials, structure, printing, and finishing for custom boxes.
Custom Window Boxes: Materials, Design and Product Visibility
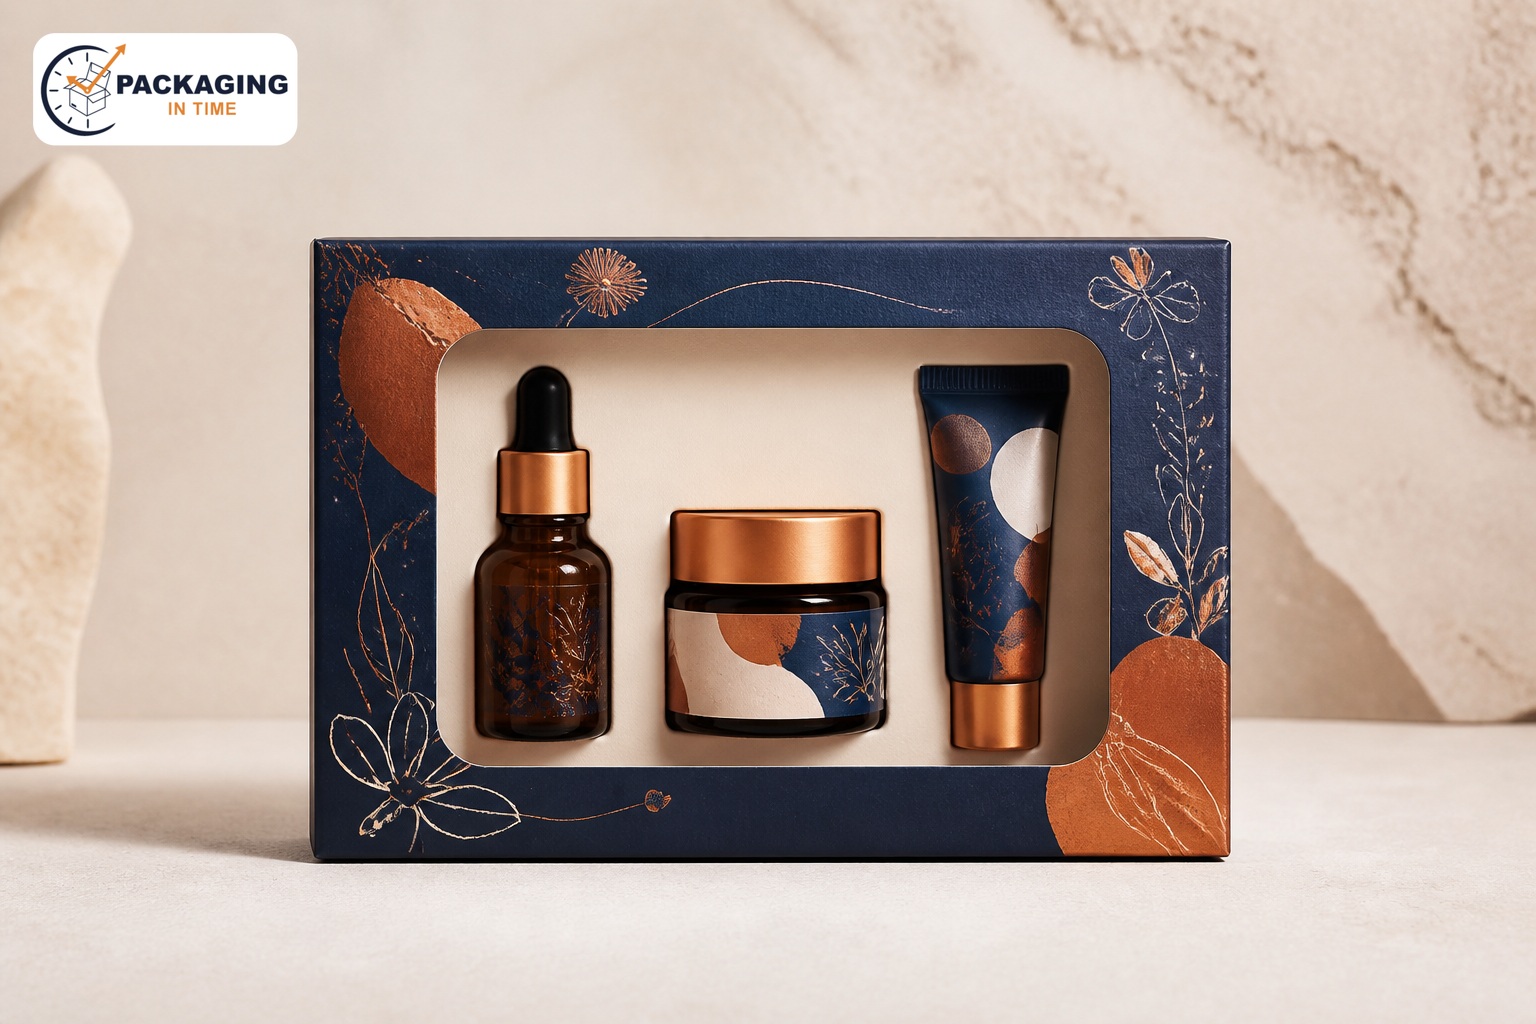
Custom window boxes combine a paperboard structure with a cut-out area that reveals all or part of the product. The window can be left open when the product needs air or tactile access, or covered with a clear film when the pack needs a more enclosed presentation. They are common for cosmetics, confectionery, bakery items, gifts, candles and retail product sets where visibility helps the customer assess the item before purchase.
The right specification depends on what the customer needs to see, how the item will be handled and whether a secondary packaging layer is required. A large front window can strengthen shelf appeal, but it also removes board area and changes how the carton supports the product. Evaluate the window, product placement and package layer together rather than treating the cut-out as only a graphic feature.
What is a window box?
A window box is a carton or paperboard box with a die-cut opening positioned to show the product inside. Some designs use no film; others apply a transparent material behind the cut-out. The term describes the viewing feature, not a single box style. A window can be added to tuck-end cartons, sleeves, gable boxes, bakery boxes and selected rigid formats if the structure supports it.
Die-cut windows and clear films
Open windows
An open window leaves the product directly visible. It can work where the product is separately wrapped, where ventilation matters or where the package is used primarily for retail presentation. The exposed area should not create avoidable scuffing, contamination or product-movement risks. Confirm the intended retail environment and handling route before choosing an open design.
Film-covered windows
A film-covered window lets the product remain visible while closing the aperture. Film type, thickness, attachment area and visual clarity should be tested with the printed board and the product. Creasing, static, glare, scratches and adhesive visibility can affect the finished presentation, especially around large or unusually shaped windows.
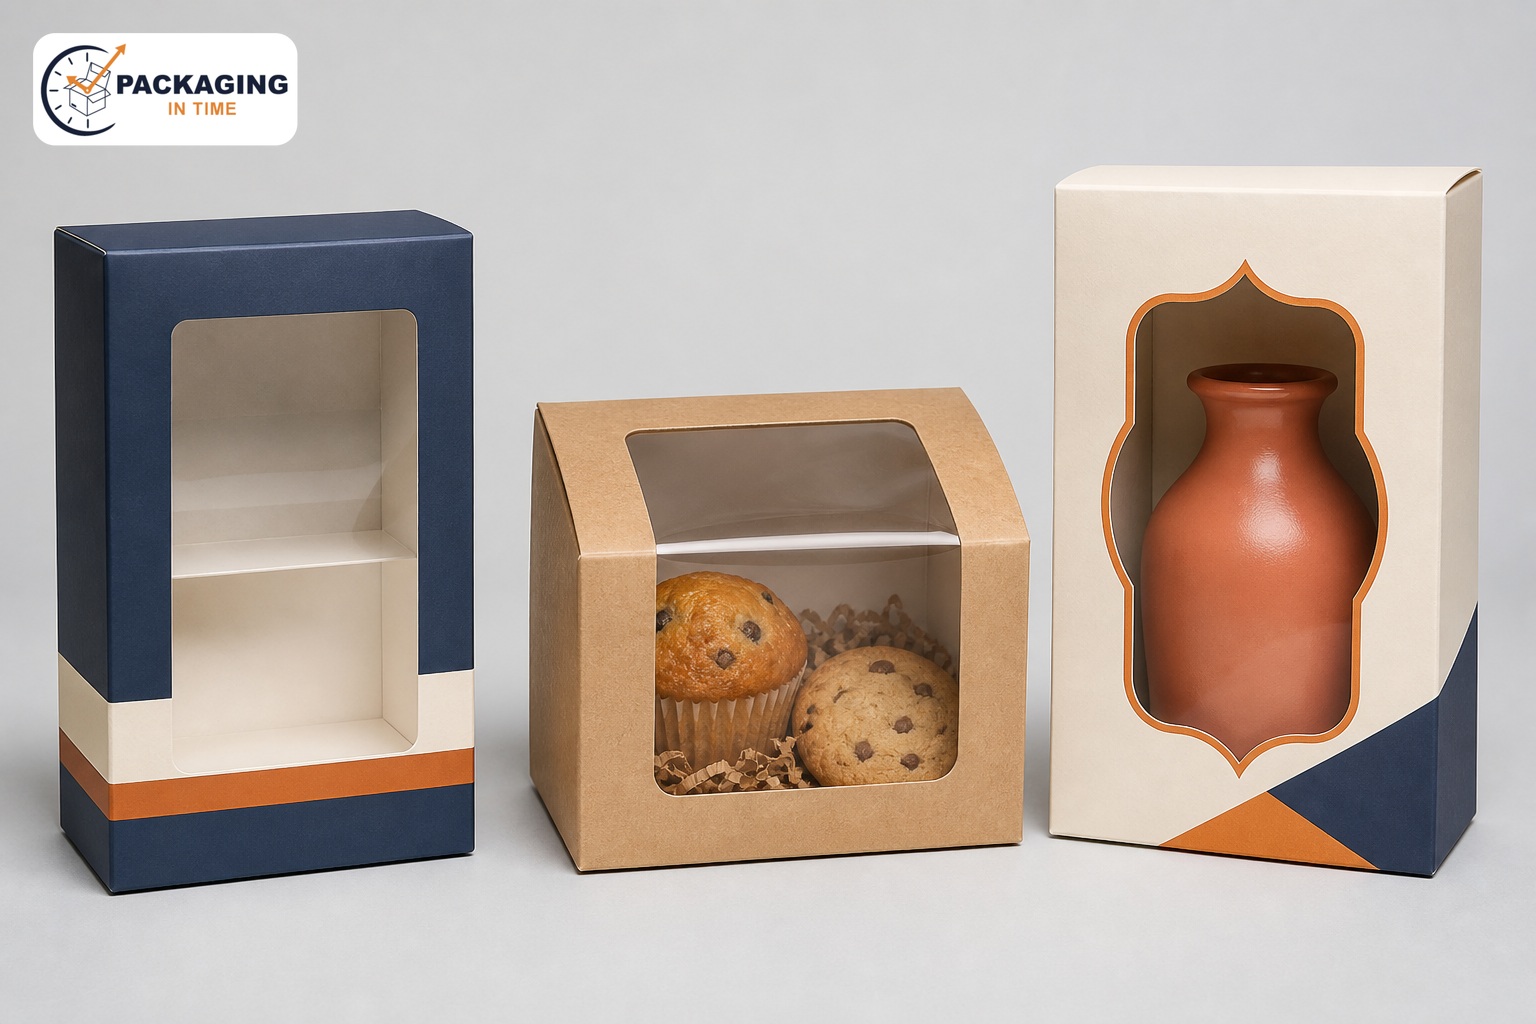
Window box examples: rectangular, bakery-style and shaped display windows.
Materials, product fit and protection
Paperboard grade, carton size, product weight and the amount of board removed for the window all influence stiffness. A wide cut-out may require stronger surrounding panels, a smaller window, an internal tray or another structural adjustment. Measure the actual product and confirm its orientation, clearance and any insert before finalising the die line.
An insert, divider or tray can keep the visible product aligned behind the window and reduce movement. Select this support based on the product’s shape, weight and fragility. If the product includes a glass component, loose pieces or a sensitive surface, use a physical sample to review fit, scuffing and visibility together.
Window design, printing and finishing
Place the window where it reveals the strongest product feature without crowding required information, closure panels or high-stress folds. Avoid placing critical copy directly next to the cut-out where alignment variation can make the composition look uneven. A window shape can echo the product, but very intricate cuts may affect production tolerance and the usable print area.
Printing can use digital or offset processes depending on the design and production requirements. Finishes such as foil, embossing, debossing, coatings and laminations should be reviewed with the window construction because they can change the visual contrast between board and film. Keep any required barcode on a flat, readable panel with sufficient contrast and safe clearance from seams, folds and the window edge.
When the pack is mainly a consumer-facing carton, compare the feature with the wider range of . The retail box may still need a separate outer shipper for parcel distribution.
Choose the window for a clear purpose
A window should answer a customer question: what is inside, what color is it, what texture does it have, or how many items are included? Define that answer before setting the shape. A large aperture can make a product easy to assess, but it removes board from the panel and can leave less space for brand, legal or retail information.
A small targeted opening can show a key detail without weakening the pack or making the product look lost inside. Sketch the product in its final orientation, then decide the exact feature that should be visible.
Avoid treating a decorative window as an isolated graphic element. It changes the structure, print layout, product support and material mix. The strongest designs make the cut-out work with the carton rather than compete with it.
A rounded opening can echo a product’s form; a long narrow opening can show several variants in a row; a framed rectangle can give a product a clean retail view. Test the result on the real box, because a cut line that looks balanced on a screen may sit too close to a fold, seam or product edge once assembled.
Open and film covered options
Open windows work when direct visibility or touch is useful and the product can tolerate the retail environment. They can suit individually wrapped goods, products that need ventilation, or packs presented behind a controlled counter.
The exposed edge should be smooth, and the opening should not create a path for product movement, scuffing or unwanted contact. Consider the fixture, likely customer handling, length of time on shelf and whether the product itself has a protective primary pack. An open window is not automatically suitable merely because the product looks attractive.
Film-covered windows close the aperture while retaining visibility. They are often selected for a cleaner enclosed presentation, but they introduce film clarity, glare, static, adhesion and scratch-resistance considerations. Large films can show wrinkles or bowing if the attachment area and board do not work together.
A highly glossy product can be difficult to see through a reflective film under store lighting. Ask for a production-representative sample using the planned board, print and film. That sample should be viewed at the retail angle, not only under a design studio light.
Product orientation and retention
The product must stay in the intended view through packing, delivery and customer selection. Start with the correct orientation: upright, front-facing, horizontal, stacked or arranged in a set. Then select the simplest support that holds that position.
A shallow paperboard platform can stop a small carton from falling away from the window. A divider can separate variants. A fitted insert can hold a bottle or fragile item. The choice should follow the product shape and movement risk, not a generic assumption that a window box needs a premium insert.
Check the pack after it is partly depleted or handled. A box containing several products may look perfect when full but reveal an empty-looking aperture after one unit is removed. A gift set may need its products to remain centred even if the customer lifts the outer box.
Where a visible item has a label, cap or decorative surface, ensure the insert does not cover it or create rub points. The physical prototype should be packed, carried, set down and opened in the same way a customer or store team will use it.
Board, size and structural support
Window boxes are often made from paperboard cartons, but the correct board depends on box size, product load, window size, print treatment and handling route. Removing a large central portion of a front panel can reduce stiffness and change how the carton holds its shape.
A smaller opening, stronger surrounding panels, a support tray or a different carton style may restore the required stability. Do not select a board grade from appearance alone. Use the actual product and planned window in a structural sample, especially if the item is heavy, glass, irregular or sensitive to pressure.
Box dimensions should be set from the product and support components. Record internal length, width and depth, clearance at the window, required product orientation and any allowance for tissue, dividers, film and closing flaps. A product may fit inside the basic carton volume but sit too close to a window, rub against the film or be hidden by the front lip.
The final sample should show the product in the position a shopper will see. This makes it easier to assess both protection and the value of the display feature before artwork and production details are locked.
Artwork around the cut out
Window artwork needs a deliberate hierarchy. Give the product room to be seen, then use the board around it for the brand, category and variant cues a customer needs at shelf distance. Do not crowd the edge of the window with fine type, borders or registration-sensitive details.
Production tolerances and die-cut variation can make a narrow border look uneven. Keep important artwork away from folds, glue areas and the parts of the pack most likely to be scuffed during stocking. A clean frame often works better than artwork that tries to compete with the visible product.
Print and finishing decisions should be reviewed with the film or open aperture. Foil, soft-touch coatings, embossing, spot varnish and high-coverage color can create contrast around the product, but they can also draw attention to marks, fingerprints or a poorly aligned window.
Specify each effect by panel and purpose. A physical proof is valuable for checking the edge of the cut-out, the visual relationship between board and film, and the result under ordinary retail lighting. If a barcode is required, reserve a flat, readable panel away from the window edge and verify it on the finished material.
Food and product contact boundaries
For food, first identify which component actually touches the product. A window box carrying sealed confectionery has a different role from a box holding unwrapped bakery goods. Paperboard, films, coatings, inks, adhesives, liners and inserts may have different relevance depending on the food, contact time, temperature and moisture.
A broad claim such as food safe or FDA compliant does not describe those conditions. Obtain relevant material documentation and make decisions for the specific product and market rather than copying language from an unrelated packaging example.
The same care applies to cosmetics, pharmaceuticals, CBD products and other controlled categories. The window can support product visibility, but it should not hide labels, warnings, tamper-evidence features or information a customer needs when the product is separated from the outer carton. The product layer and the window-box layer can have different responsibilities. Keep claims and approval steps with the component they apply to, and involve the appropriate product, regulatory and retailer stakeholders before release.
Retail fixture and merchandising
A window box should be reviewed in its actual retail fixture. Shelf depth, shelf lip, number of facings, height, lighting, price tickets and neighbouring products can change how much of the product a customer sees.
A large front window may work well on a counter but be partly blocked by a shelf edge. A side window can add interest in a stacked display but may be hidden in a single-facing planogram.
Use a sample in the intended fixture and view it from the approach angle, not only from directly in front.
Retail operations matter as much as the first shelf photograph. Staff need to recognize the SKU, unpack it from the outer case, place it correctly and replenish it without damaging the window. If several window-box variants share a display, establish a clear orientation and product-code system.
If customers handle the package before purchase, check whether film scratches, product alignment shifts or an open aperture exposes a sensitive surface. These ordinary conditions should inform the final material and window decision.
Distribution and outer packaging
A retail window box is not automatically an outer shipping box. Parcel and freight handling can add drops, vibration, compression and changing orientation that are not present on shelf. The aperture can reduce the front panel’s protection, and clear film can scratch or puncture if it is not protected within an outer case.
Define the full packaging system: product, insert, window carton, any cushioning, outer shipper and expected route. If performance testing is needed, test the actual configuration and document the result for that configuration.
For direct-to-consumer delivery, a window box can be the customer-facing presentation layer inside a protective shipper. A protective outer mailer can take the parcel role while the window carton focuses on product presentation.
For retail distribution, decide whether the boxes ship flat, assembled empty, loaded with product or within a master case. Each route changes storage volume, assembly work and surface protection. A loaded window box may need the outer case to keep units from rubbing against one another. A flat carton may reduce freight cube but shift the risk to the packing operation. Compare the whole process rather than choosing only on the blank cost.
Material claims and end of life
A paperboard carton with a window is a multi-component package. The board, film, adhesive, inks, coatings and any foil or insert may have different recovery considerations. Local collection systems also vary. Do not describe the complete box as recyclable, compostable or environmentally preferable without defining the supported attribute and any conditions that apply.
Specific language backed by material documentation is more useful to customers and retailers than a broad label that the finished configuration cannot support.
Look for material efficiency without compromising the product. A smaller window, less film, a simplified insert or a more efficient pack-out can be worthwhile if the product remains visible, stable and protected. Reducing material is not automatically an improvement if the change increases damage, forces a larger outer case or makes packing less consistent. Review the whole system and choose the option that supports the product, retail experience and credible material information.
Prototype, quote and release
A complete sample should include the actual product, chosen board, cut-out, film if used, insert, print treatment and planned closure. Check product visibility, fit, window alignment, edge finish, film clarity, carton stiffness, product movement and the way the pack looks after ordinary handling.
If the range has several SKUs, test the heaviest, tallest or least stable product rather than assuming one sample covers all variants. Document the approved configuration so later changes to the product, board, window shape, finish or route can be reviewed properly.
A strong quotation request includes product dimensions and weight, box structure, internal dimensions, window size and location, open or film-covered choice, film or attachment requirements, board and print treatment, product-retention components, quantity, destination and delivery route.
Include artwork status, barcode needs and any retailer rules. Do not assume a price, lead time, food-contact suitability or transit performance result before the supplier has these inputs. Ask exactly what is included: carton, film, insert, packing, outer case, proof and sample scope.
Common questions buyers need answered
Use an open window when the product is already protected, can tolerate customer proximity and benefits from direct visibility or ventilation. Use a film-covered window when the aperture should remain enclosed and the product presentation needs a clearer barrier.
Use an insert when the product must stay aligned, separate items or remain stable behind the window. Use an outer shipper when the product moves through a delivery route. These are separate decisions, and treating them that way makes a window-box brief faster to price and easier to approve.
A window box works best when the visible product, carton structure and product-support system were designed together. The window should make a purchase decision easier without weakening the carton, hiding required information or creating an unsupported performance claim.
Start with the product and route, prove the complete pack on a sample, then release the artwork and production specification. That approach gives a brand the visibility benefit of a window while keeping the packaging practical for packing, retail and delivery.
Food, retail and shipping considerations
For food, the relevant question is not simply whether a window box is “food-safe.” Review the product-contact layer, any barrier or wrap, the actual window material, inks, coatings, adhesives and the intended use conditions with the appropriate supplier and regulatory requirements. Do not infer a food-contact claim from a carton or film label alone.
A window box can improve retail visibility but is not automatically a transit container. A large viewing aperture can reduce panel stiffness, while parcel handling can add drops, vibration and compression not present on a shelf. Define whether the box is the product layer, a retail carton or an outer shipping layer, then use representative testing for the complete packaging system.
Environmental claims
Environmental statements should describe verified components and local recovery conditions. A paperboard box with a plastic film window, coating, foil or adhesive may have different recovery considerations from an uncoated paperboard carton. Avoid broad unqualified claims; state the supported material attribute and applicable disposal guidance instead.
Frequently asked questions
Are window boxes made from cardboard?
Many use paperboard cartons, but “window box” describes the display opening rather than one material. Confirm the board grade, carton style, window film and any product-support requirement for the intended item.
Do window boxes need plastic film?
Not always. An open window may suit some retail uses, while a film-covered opening can provide a more enclosed presentation. The choice depends on product protection, visibility, handling and any relevant product-contact requirements.
Can a window box be used for shipping?
It may be part of a shipping system, but a retail carton with a window is not automatically designed for parcel distribution. Confirm the outer shipper, internal support and route-specific evaluation for the complete package.
Make product visibility part of the structure
A well-designed window box shows enough of the product to support purchase confidence while maintaining the structure, information space and protection the item needs. Confirm the window cut-out, film, product fit and carton finish on a physical sample before volume production.
Research references
FTC Green Guides summary , https://www.ftc.gov/business-guidance/resources/environmental-claims-summary-green-guides
GS1 barcode placement guidance , https://www.gs1.org/standards/barcodes/10-steps-to-barcode-your-product/english